before reading this chapter, you may read the related articles blow
Storage Space
3. Create the 2nd Virtual Disk in the Storage Pool
3-1. Create another virtual disk at the same Storage Pool for preparing the next lab - iscsi
Right click on the "StoragePool1", then click "New Virtual Disk..."

Select the "StoragePool1" and click "OK"

Click "Next"
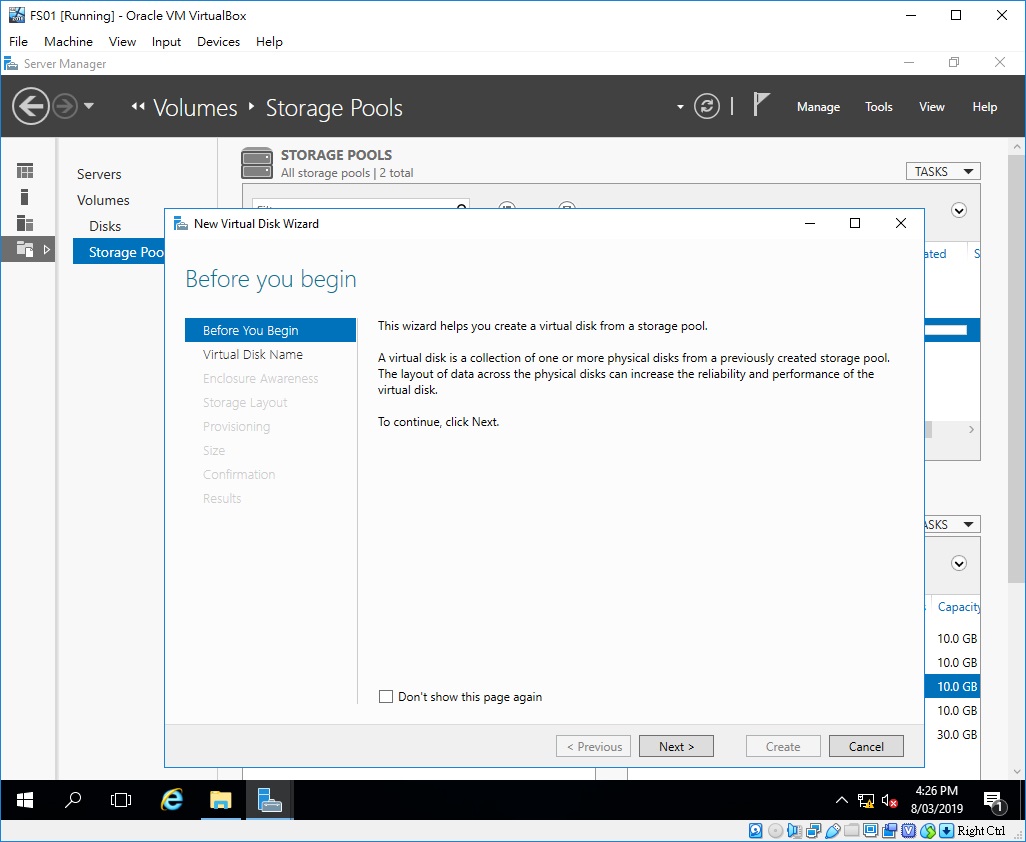
Type "Pool1VD02isci01" at the Name textbox, then click "Next"

Click "Next". (No enclosure need in this lab)

Select "Parity" and click "Next"

Select "Thin" and click "Next"

Set the virtual disk size as "8" GB

Check the setup summary and click "Create"

Click "Close" when completed. The Volume creation wizard will open automatically

Click "Next" at the Volume creation wizard

Select "PoolVD02iscsi01" and click "Next"

Set the volume size as "7.97" GB as the available capacity then click "Next"

Select the "Q" drive letter for the volume, then click "Next"

Type "iscsi01" in the Volume label textbox. Later we will create another iscsi volume named "iscsi02"

Check the summary then click "Create"

Click "Close" when completed

3-2. Verify the virtual drive
check the 2nd virtual disk in the lower window is created and size is 8.0 GB

Click "Disks" at the left panel, click the "PoolVD02iscsi01", then check the volume is 7.97 GB as "Q" letter

Click "Volumes" at the left panel, check the new volume "Q" is named "iscsi01"

Open file explorer, click "This PC", the 2nd virtual drive is lettered "Q" and labelled "iscsi01" is ready to use

No comments:
Post a Comment