a. 利用小圖 + "repeat" 來建立 body 背景圖
b. 建立 wrapper、header、navigation、footer
a. Use the small image + "repeat" to create the body background image
b. Create wrapper, header, navigation, footer
Dreamweaver會加入許多程式碼:
Dreamweaver will add a lot of code:

滑鼠未放到圖片前的顏色
The colour of "Sky" before mouse hover the picture

滑鼠放到圖片後的顏色
The colour of "Sky" has been changed when mouse hover the picture

PS:
1. 依照課本步驟,做出來的網頁,會在第一次瀏覽時就讀入與該頁面相關的所有圖檔。若圖檔多且大,會比較慢。一但讀完後,之後對於相關圖片的瀏覽動作就很快了。
2.也可以用下面的程式碼,但是這方法會在當下才下載第二張圖。若第二張圖太大,會使得顯示比較慢。
Code:
<p><img src="image/btn1.JPG" name="btn1" width="150" height="50" id="btn1" onmouseover="document.getElementById('btn1').src='image/btn1a.jpg';" onmouseout="document.getElementById('btn1').src='image/btn1.jpg';" /></p>
PS:
1. In accordance with the textbook steps, the resulting web page will read all the images associated with the page the first time it is viewed. If the image file is large and large, it will be slower. Once you have finished reading it, the browsing action for the related pictures will be very fast.
2. You can also use the following code, but this method will download the second picture now. If the second image is too large, it will make the display slower.
Code:
<p><img src="image/btn1.JPG" name="btn1" width="150" height="50" id="btn1" onmouseover="document.getElementById('btn1').src='image/btn1a.jpg';" onmouseout="document.getElementById('btn1').src='image/btn1.jpg';" /></p>
同場加映:
1.LightBox:點了圖之後,頁面會轉暗,然後點選的圖片會跳出來。
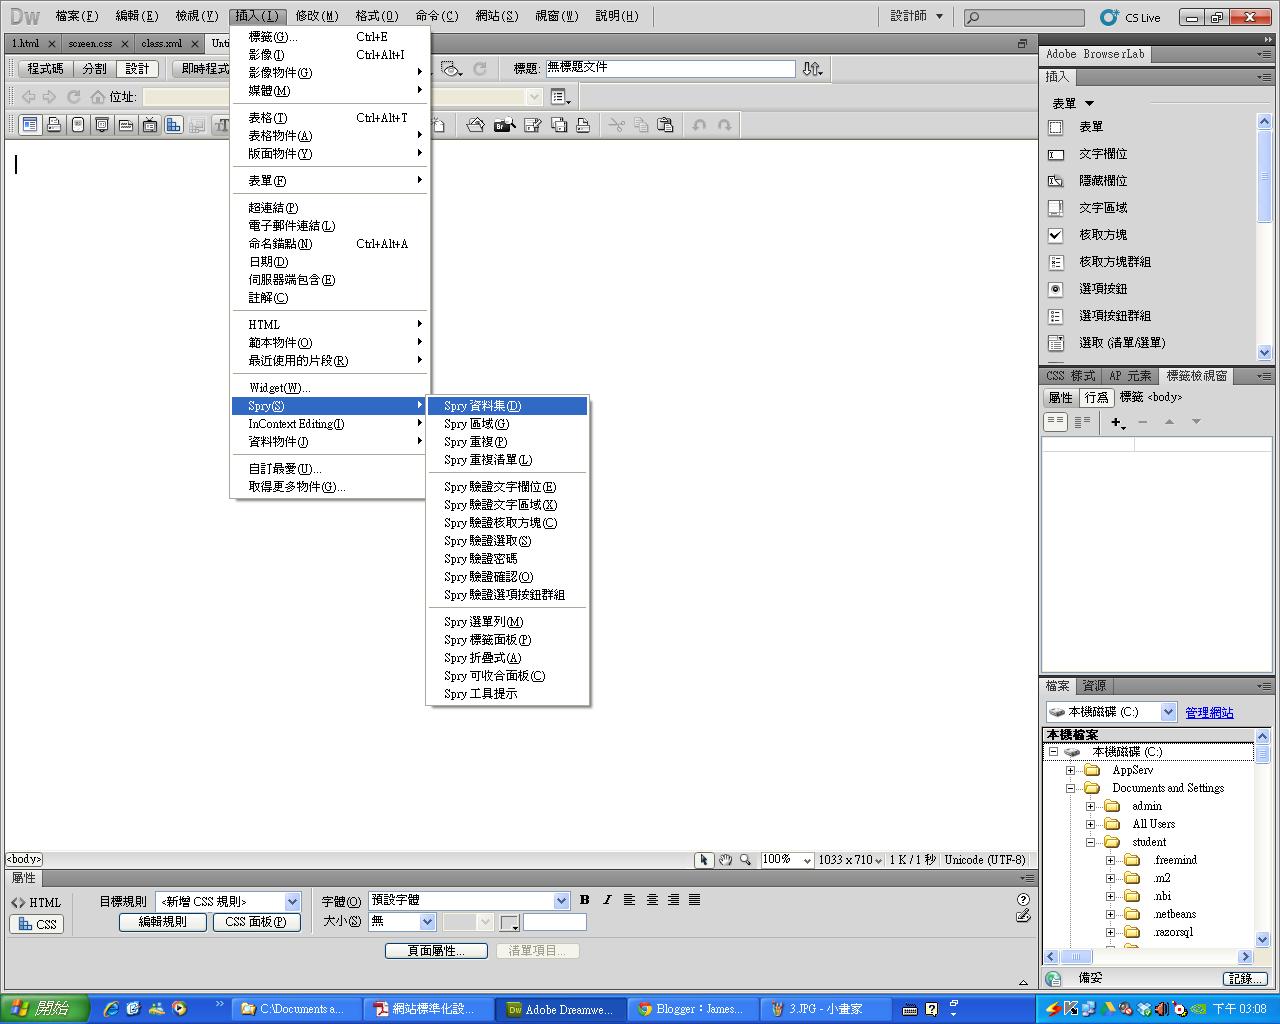
2.Spry:Adobe 的一種表格工具,可從XML接收資料後轉成表格;比單純使用 JSP抓資料庫
Extra Points:
1.LightBox: After clicking the picture, the page will turn dark, and then the selected picture will jump out.
2.Spry: A form tool from Adobe that can be converted into a form after receiving data from XML; it is better than using JSP to capture the database.
執行結果 1:
Result 1:

Result 2: Use CSS for frame, th, td and other tags to draw frame, and increase the number of data and fields

No comments:
Post a Comment